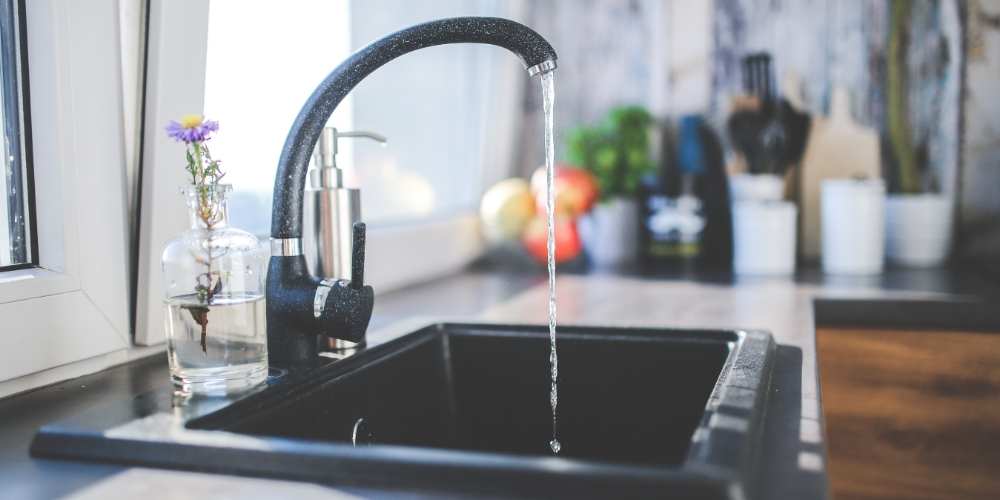
In home life, it is inevitable that some faucets will leak or be damaged. This requires repairing the faucet. It is best to directly find professional maintenance personnel. Not bad. The following editor summarizes the illustrations of the repair of leaking faucets. Hope it helps everyone.
1. What to do if the faucet leaks
Leakage of the faucet will cause a great waste of resources and bring a lot of inconvenience to life. Infatti, the structure of the faucet is very simple. In generale, if the faucet leaks, it can be solved by replacing the inner parts of the faucet such as axial gaskets or triangular gaskets. If the water leaks at the joint of the faucet, the main reason is that the water-stop tape that fastens the fixing screw of the faucet is damaged. Perciò, just use a wrench to remove the faucet, and re-roll the new water-proof tape in the place where the screw is fixed.
2. Faucet leakage in 6 Passi
The faucet generally uses a push-type faucet. Prossimo, take the push-type faucet as an example to briefly introduce the repair method of the kitchen faucet leakage. First prepare the necessary tools, pinze a mano, cacciavite, penetrating oil, chiave regolabile e il cuscinetto da sostituire.
Close the inlet valve
Rimuovere la piccola vite sopra o dietro la maniglia del rubinetto per rimuovere la maniglia fissata sul corpo del rubinetto. Alcune viti sono nascoste sotto bottoni di metallo, pulsanti di plastica, o fogli di plastica che si scatenano o si avvitano nella maniglia. Finché apri il pulsante, Vedrai la vite sulla maniglia superiore. Se necessario, Usa un lubrificante penetrante come WD-40 per allentare le viti.
Remove the handle
Usa pinze di carpe grandi o una chiave regolabile per rimuovere il dado di imballaggio, stare attento a non lasciare graffi sul metallo. Girare la bobina o l'albero nella stessa direzione di quando hai aperto il rubinetto per svitarli. View the parts of the faucet.
Remove the screw holding the washer
Se necessario, Usa l'olio penetrante per allentare le viti. Controllare la vite e la bobina e sostituirlo in caso di danni.
Sostituire la vecchia guarnizione con una nuova identica guarnizione
Nuove rondelle che quasi corrispondono alle vecchie rondelle generalmente impediscono al rubinetto di gocciolare. Dovresti anche notare se la vecchia guarnizione ha uno smusso o è piatto, e sostituirlo con la stessa nuova guarnizione. Una guarnizione progettata solo per l'acqua fredda si gonfia violentemente quando l'acqua calda scorre attraverso di essa, Bloccare l'uscita dell'acqua e rendere più lento l'acqua calda. Alcune guarnizioni possono funzionare in acqua calda e fredda, Ma dovresti assicurarti che la guarnizione acquistata per la sostituzione sia esattamente la stessa di quella originale.
Install faucet parts
Correggi la nuova guarnizione sulla spina della valvola, and then reinstall the parts in the faucet. Girare la bobina in senso orario. Dopo che la bobina è stata a posto, Reinstallare il dado di imballaggio. Fai attenzione a non consentire alla chiave di lasciare graffi sul metallo.
Water release detection
Reinstallare la maniglia e sostituire il pulsante o il disco. Accendi nuovamente l'approvvigionamento idrico e controlla eventuali perdite d'acqua.
Warm reminder: We need to use the faucet correctly in daily life. When turning off the faucet, do not rotate the faucet too tightly, so that the life of the faucet can be maintained for 7 A 8 anni. Tuttavia, the hot water in the kitchen faucet shrinks due to the heat rise The reverse change can easily increase the loss of the faucet, so the editor recommends that in order to prevent the faucet from leaking, the rubber pads on the hot and cold sides of the kitchen faucet should be replaced regularly.
If you want to know more products,don’t hesitate to send e-mail to info@vigafaucet.com to get the lasted catalogue.