
Xiao Xin Bathroom Headline
For decoration, do not just focus on the look. Good-looking appearance is simple, quality construction is the hard truth. For example, the waterproofing of the bathroom is the most important.
Don’t want your downstairs neighbors to come knocking on your door, read this bathroom waterproofing how to do it!
1. Apply the first coat of waterproofing paint.
Before construction, ensure that the site is clean and dry. The waterproof coating should be fully coated without any leakage. The waterproof coating should be firmly combined with the grass-roots level, no cracks, no bubbles, no shedding. Painting height should be consistent, the thickness of the product should meet the requirements of the regulations.
PS: The joints of floor drain, wall corners, pipe heels, etc., should use high elasticity flexible waterproofing brush. Because the joints between the walls of the bathroom and the ground will be shifted most likely to seep water.

2. Brush the second coat of waterproofing paint. Note, the second waterproofing coating needs to have a certain time interval between. Wait for the first coat of paint to dry before the second coat. The exact time depends on the paint. If the interval is too short, the effect of waterproofing will be greatly reduced.
3. Layer a protective layer. In order to prevent subsequent construction damage waterproofing layer, need to lay a protective layer on the surface of the waterproofing coating. The protective layer should completely cover the waterproofing layer, no omissions. Its combination with the grass-roots level should be solid, with no cracks, no bubbles, no shedding.
4. Closed water test. Closed water test, ground point of the water line can not be less than 2 cm, save at least 24 hours. Observe that there is no leakage phenomenon only after qualified. If there is leakage, need to redo. Do not be negligent.
PS: How to do the closed water test?
- Plug the floor drain.
- Make a water-blocking canopy at the entrance to the bathroom.
- When draining the water, avoid direct contact with the floor. Remember to buffer.
- The water line should not be lower than 2 cm, well marked.
- Keep it for at least 24 hours and go downstairs to see if there are any leaks (talk to your neighbors in advance).
- Never be too much trouble.
Wall treatment
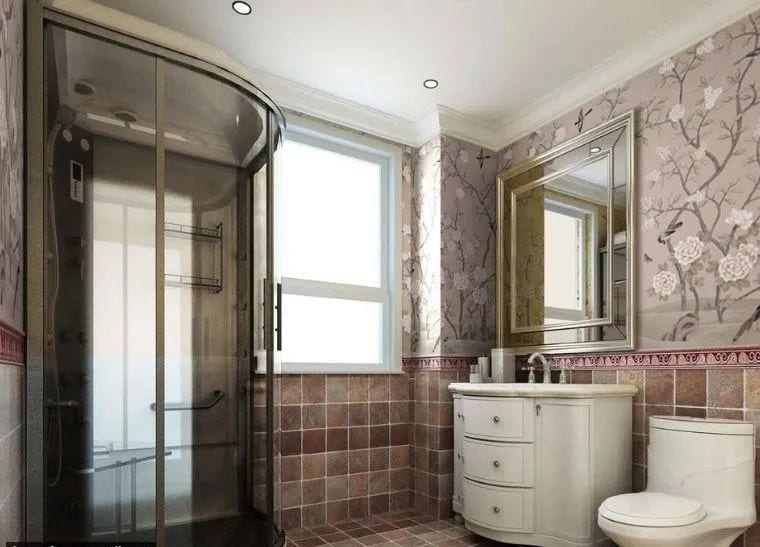
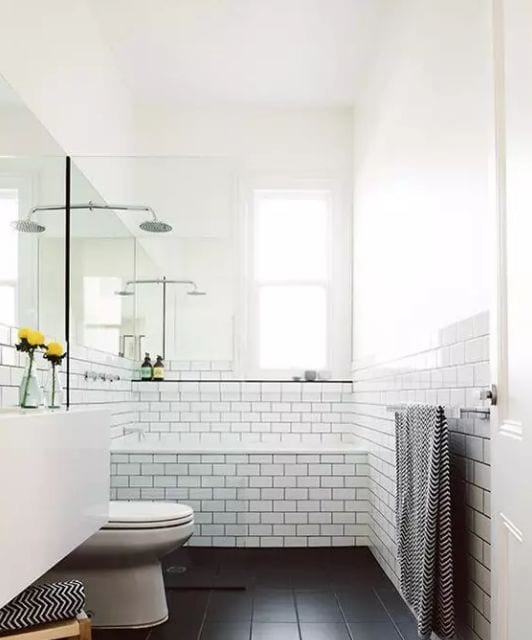
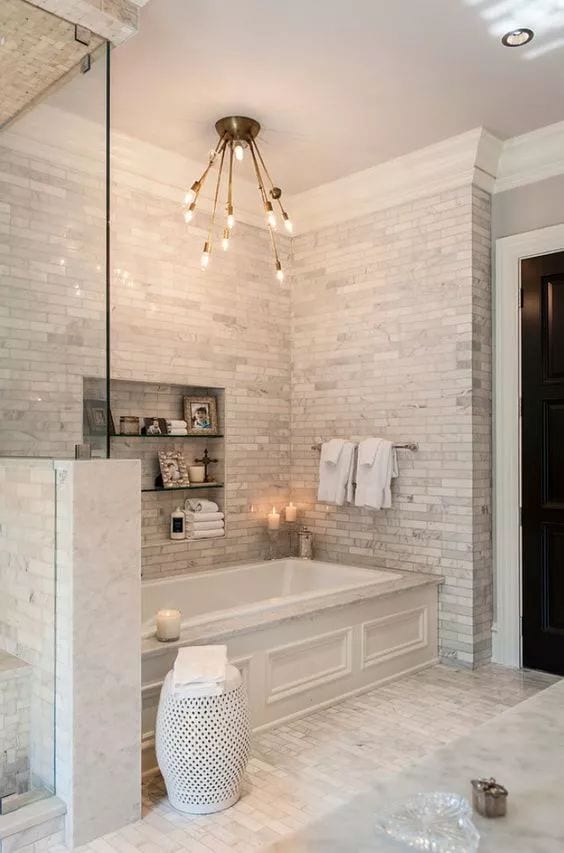
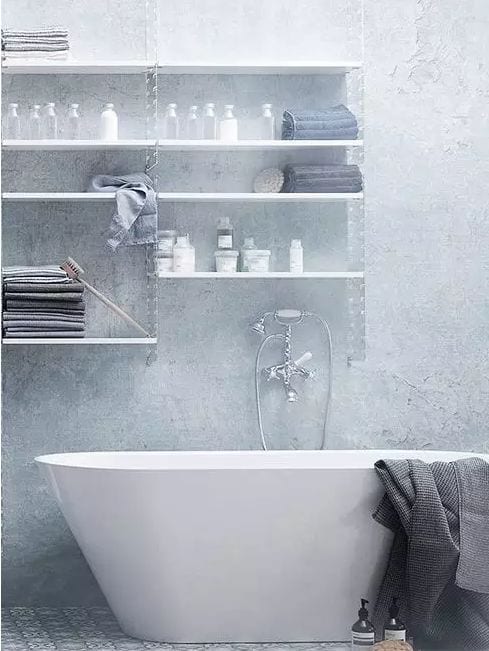
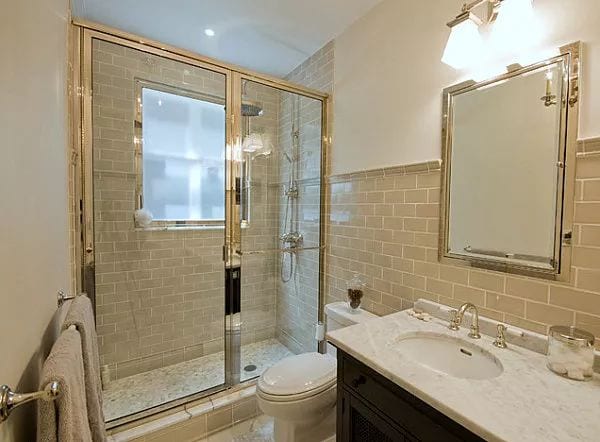
- The wall should be treated with a waterproof coating approximately 30cm high to prevent water from penetrating the wall and returning to the tide. If the bathroom has a shower, the waterproofing should be 180cm. if there is a bathtub, the waterproofing height of the wall adjacent to the bathtub should be 30cm higher than the bathtub.
- When the waterproof layer should be done to leave a certain amount of time, so that the waterproof layer and the building better integrated into one. Then make protective layer on the waterproof layer and then pave the floor tiles. The construction process, can never be sloppy. To try to protect the waterproofing layer. Although someone passed the waterproofing test, but after moving in, the phenomenon of water leakage still occurs. Here is the problem.
3. Waterproofing is a time-consuming system project. Each place has different causes and treatment methods. Material is the basis, construction is the key, follow-up service is guaranteed.
WeChat
Scan the QR Code with WeChat