
Is your faucet leaking? Does it hinder your daily housework? Want to repair it or replace it with a new one? Well, dismantling the faucet is the first task you must complete to achieve your goals. You don’t have to call a plumber to disassemble the faucet (we also have a guide to replace the faucet); you just need to follow a few simple steps, which will make the process much easier than you think.
Before starting the disassembly process, you need to arrange some tools needed during the disassembly process;
The tools you need
- All-in-one Screwdriver
- Wrench
- Slip joint pliers
- Tweezers
Once you have gathered all the essentials, you can begin the process:
3 Steps to Disassemble The Faucet
Step 1-Turn off the water supply
At first, you must turn off the water supply by turning the handle under the sink. After turning the handle, drain the remaining water in the tube to avoid dripping problems. Then cover the drain pipe with a sink plug or any cloth, as this will prevent screws, pins, washers, or anything from falling through the drain pipe. It is best to cover the top surface with a thick cloth to avoid scratches.
Step 2-Choose the type of faucet
At present, check which type of faucet you have, because different faucets have different mechanisms. According to the mechanism, you should choose the disassembly process. For example, some have ball bearings, while ceramic disc faucets have cylinders. Therefore, depending on the type, you will have to start the next step.
Step 3-Go to the final step
Finally, we will completely disassemble the faucet and create separate parts for different types of faucets.
Mixer Faucet
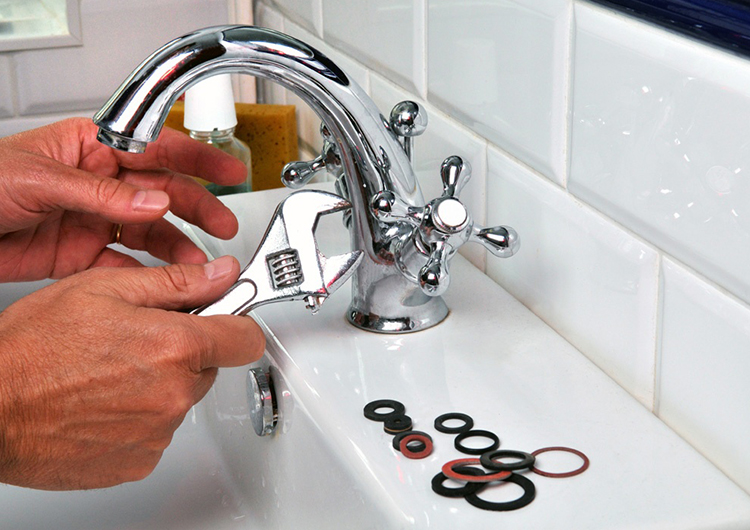
If you have a faucet, then you will find a small button on the lower part of the handle, from there you have to use a wrench to remove the hex screw. Now, slowly rotate the handle so that you can remove the lever from the base. After the lever, you must remove the pivot or head of the valve, and you can use a wrench to remove it.
Be careful not to damage the adjusting ring when disassembling. Now pick up the tweezers and carefully remove the seal ring, washer and spring. After removing everything, use pliers or a screwdriver to gently lift the faucet base. Avoid using the main body to remove the bottom, as this may damage the surface.
Compressed Faucet
Disassembling the compression faucet is a simple task, and it takes a few minutes to complete the job. First, you need to carefully remove the top cover, which will provide access for the screws. Then use a screwdriver to unscrew the connector, it will let you pull up the handle. Then, you must use sliding joint pliers to remove the valve cover, and then continuously remove the valve stem from the base. When removing the valve stem, turn the hex nut clockwise. After the valve stem, it is time to remove the gasket and base with a wrench or pliers.
Ball faucet
For this type of faucet, first, you need to eradicate the handle, which can be done by unscrewing it with sliding joint pliers. But first, you must remove the decorative cover to unscrew the handle. It is best to wrap the outer surface so that you can work freely without leaving any scratches. Now use pliers to remove the cam, washer, and ball, and remove the ball from the main area. It is best to remove the seal and spring before removing the O-ring as the base. Now depending on the model, you should take out the O-ring and base to completely disassemble the faucet.
Plug-in faucet
First, you must open the decorative cover of the cartridge faucet, because it allows you to remove the handle. Then use pliers to remove the round fixing clip. After removing the clip, you can now easily remove the ink cartridge. Finally, use a utility knife to remove the O-ring. This will be the last step of complete disassembly.
You must remove the faucet base from the sink or any other area that helps you achieve your goals.
WeChat
Scan the QR Code with WeChat