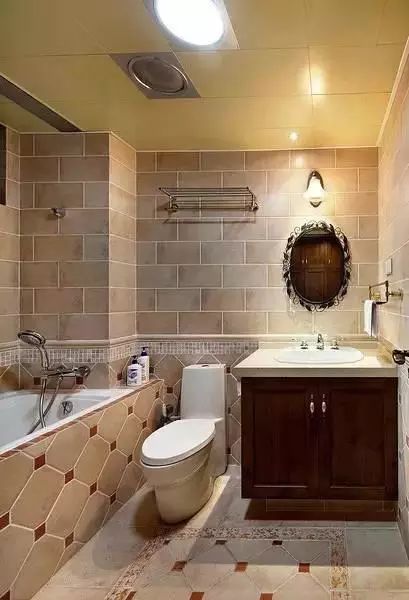
Bathroom Business School
Renovate the bathroom
The most important thing is waterproofing
Today I brought the bathroom waterproofing treasure trove
Reasons for water seepage in the bathroom
- Cracks produced by the rubber cement mix.
- After making a good waterproof layer, the latter process destroyed the waterproof layer (paste the surface tile).
- The use of bad waterproofing materials (cheap no good).
- Did not do the waterproof layer as required, or waterproof layer thickness is not enough (> 1.2mm).
- Did not do the node processing as required.
- Renovation, slotting buried pipe damage to the original waterproof layer and cause leakage.
- Do waterproofing when the substrate does not meet the requirements, there is sand, loose, etc.
- Cracks arising from different shrinkage of water pipes and cement.
Bathroom renovation waterproofing tips
1, Be sure to do wall waterproofing. Before laying wall tiles, do wall waterproofing. In general waterproofing treatment, the wall should be 30 cm high waterproofing treatment. But non-load-bearing light walls, we have to waterproof the entire wall, at least 60 cm high.
2, The seam between the wall and the ground and the ground seam of the pipe between the water and water are the most likely place where the problem occurs. Be sure to supervise the workers to deal with these edges and corners. Waterproof paint must be applied in place.
3, Repaving floor tiles to do ground waterproofing. If you need to replace the original bathroom floor tiles, the original floor tiles chiseled away, be sure to use cement mortar to level the ground first, and then do waterproofing treatment, so you can avoid waterproof coating due to uneven thickness and leakage. Before doing waterproofing, be sure to clean up the ground.
4, Try not to damage the original waterproofing layer. In the newly delivered building, the ground is generally made waterproof layer. So, do not destroy the original waterproof layer is generally not leakage.
5, Ask the renovation team to give the bathroom water and sewage pipes are always good cement root guard. Brush 10 to 20 cm of waterproofing paint from the ground up. Then redo the ground ester waterproofing, plus the original waterproofing layer, composed of composite waterproofing layer to enhance waterproofing.
6, Waterproofing of the water pipe recesses in the wall is also necessary. Construction process, in the pipeline, floor drains, etc. through the floor, the waterproofing layer around its hole must be carefully constructed. Buried water pipes in the wall, to do a reasonable layout. Laying water pipes are bigger than the diameter of the pipe groove, groove plaster round, and then groove brush waterproof coating.
7, Use 24 hours “water test” to accept the waterproofing. After the waterproofing work is done, seal the doorway and downspout. The bathroom floor is full of water to a certain liquid height, and make a mark. Within 24 hours, if there is no significant decline in the liquid level, especially downstairs in the roof of the house did not occur leakage, waterproofing is done to pass.
Bathroom renovation waterproofing specifications
1, Waterproofing construction is appropriate for coated waterproofing materials.
2, Waterproof material performance should be in line with the provisions of the relevant standards in force in the country, and should have a product certificate of conformity.
3, The surface of the substrate should be flat, no air drums, sand, cracking and other defects. The moisture content of the substrate should be in line with the construction requirements of waterproofing materials.
4, Waterproof layer should be extended from the ground to the wall, 250mm above the ground. bathroom wall waterproof layer height shall not be less than 1800mm.
5, Waterproof cement mortar leveling layer and the foundation combined with a dense, no hollow drum. The surface is smooth and clean, no cracks, sand, yin and Yang corners made rounded.
6, Film coating waterproofing layer painted evenly. Thickness to meet the requirements of the technical provisions of the product. General thickness of not less than 1.5 mm, and does not show the bottom.
7, The use of construction stubble should be lapped in the direction of flowing water, lap width of not less than 100mm. When using more than two layers of fiberglass fabric, the top and bottom laps should be staggered by one-half of the width.
8, The surface of the coating film should not be blistered, not flowing, flat and without bump, and the joints with pipe fittings, sanitary ware footings, floor drains and drainage openings should be tightly tucked and rounded without leakage.
9, The thickness and strength of the protective layer cement mortar must meet the design requirements. When operating, it is strictly prohibited to destroy the waterproof layer. According to the design requirements, do a good job of ground flooding slope. Drainage should be smooth, and there should be no water backward slope phenomenon.
 VIGA Faucet Manufacturer
