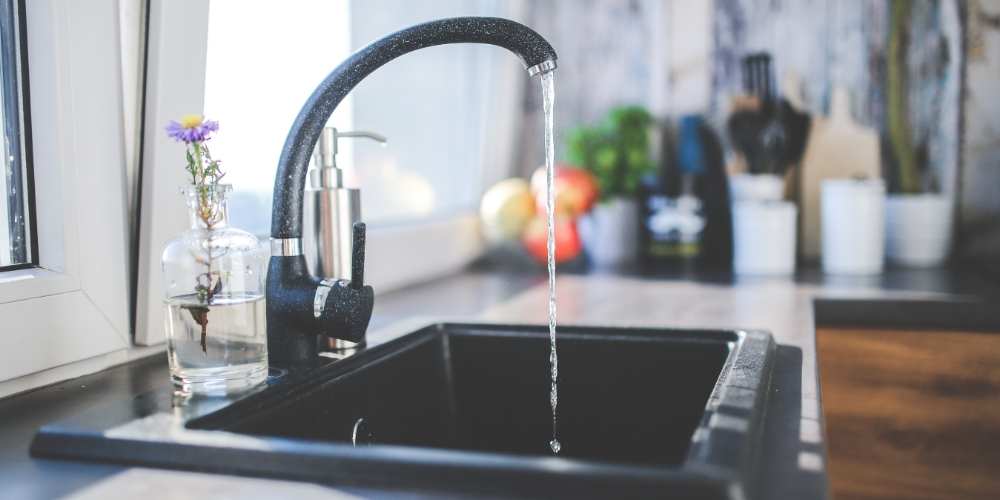
In home life, it is inevitable that some faucets will leak or be damaged. This requires repairing the faucet. It is best to directly find professional maintenance personnel. Not bad. The following editor summarizes the illustrations of the repair of leaking faucets. Hope it helps everyone.
1. What to do if the faucet leaks
Leakage of the faucet will cause a great waste of resources and bring a lot of inconvenience to life. In fact, the structure of the faucet is very simple. Generally speaking, if the faucet leaks, it can be solved by replacing the inner parts of the faucet such as axial gaskets or triangular gaskets. If the water leaks at the joint of the faucet, the main reason is that the water-stop tape that fastens the fixing screw of the faucet is damaged. Therefore, just use a wrench to remove the faucet, and re-roll the new water-proof tape in the place where the screw is fixed.
2. Faucet leakage in 6 steps
The faucet generally uses a push-type faucet. Next, take the push-type faucet as an example to briefly introduce the repair method of the kitchen faucet leakage. First prepare the necessary tools, hand pliers, screwdriver, penetrating oil, adjustable wrench and the pad to be replaced.
Close the inlet valve
Remove the small screw above or behind the faucet handle to remove the handle fixed on the faucet body. Some screws are hidden under metal buttons, plastic buttons, or plastic sheets that snap or screw into the handle. As long as you open the button, you will see the screw on the top handle. If necessary, use some penetrating lubricant like WD-40 to loosen the screws.
Remove the handle
Use large carp pliers or an adjustable wrench to remove the packing nut, being careful not to leave scratches on the metal. Turn the spool or shaft in the same direction as when you opened the faucet to unscrew them. View the parts of the faucet.
Remove the screw holding the washer
If necessary, use penetrating oil to loosen the screws. Check the screw and spool and replace it if there is damage.
Replace the old gasket with an identical new gasket
New washers that almost match the old washers generally keep the faucet from dripping. You should also notice whether the old gasket has a bevel or is flat, and replace it with the same new gasket. A gasket designed only for cold water will swell violently when hot water flows through it, blocking the water outlet and making the hot water flow slower. Some gaskets can work in hot and cold water, but you should make sure that the gasket you bought for replacement is exactly the same as the original one.
Install faucet parts
Fix the new gasket to the valve plug, and then reinstall the parts in the faucet. Turn the spool clockwise. After the spool is in place, reinstall the packing nut. Be careful not to allow the wrench to leave scratches on the metal.
Water release detection
Reinstall the handle and replace the button or disc. Turn on the water supply again and check for any water leaks.
Warm reminder: We need to use the faucet correctly in daily life. When turning off the faucet, do not rotate the faucet too tightly, so that the life of the faucet can be maintained for 7 to 8 years. However, the hot water in the kitchen faucet shrinks due to the heat rise The reverse change can easily increase the loss of the faucet, so the editor recommends that in order to prevent the faucet from leaking, the rubber pads on the hot and cold sides of the kitchen faucet should be replaced regularly.
If you want to know more products,don’t hesitate to send e-mail to info@vigafaucet.com to get the lasted catalogue.
 VIGA Faucet Manufacturer
