 English
 Deutsch
 Français
 Italiano
 Español
 Português
 Nederlands
 Polski
 Русский
 日本語
日本語 한국어
한국어 العربية
 China Faucet Factory & OEM/ODM Faucet Manufacturer
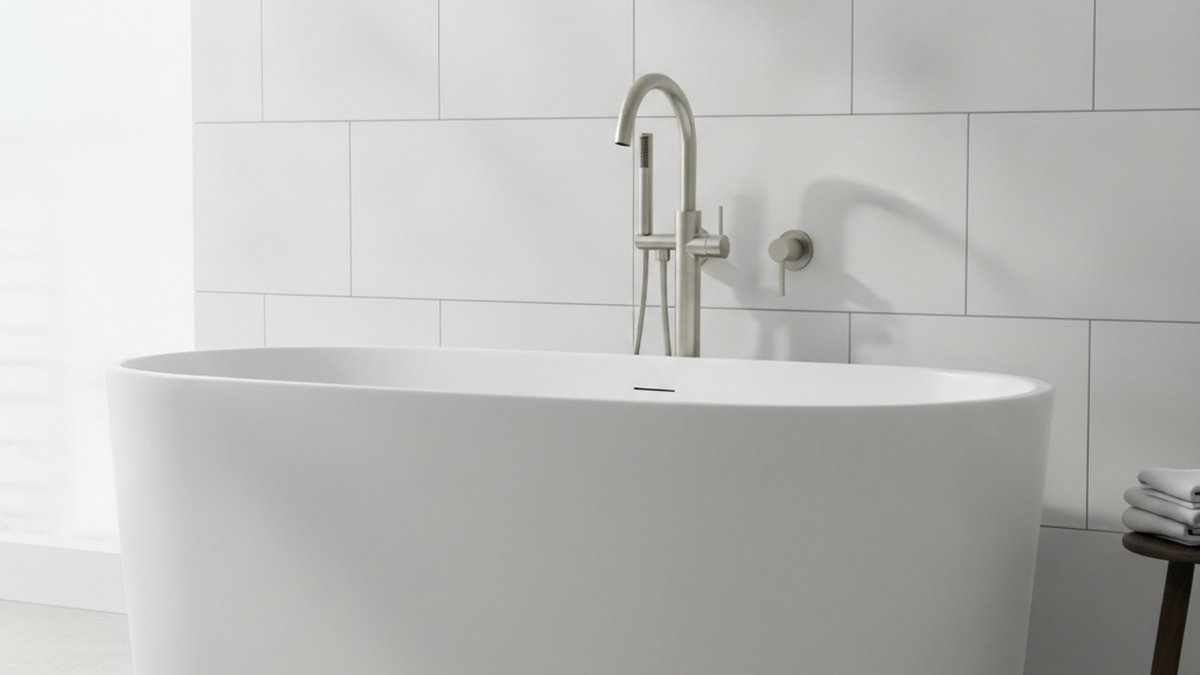
Learning how to replace a wall mount tub faucet is one of those bathroom projects that looks scarier than it actually is. If your old spout drips, the finish is pitted, or you just want to modernize a tub filler that mounts to the wall instead of the deck, you can almost always do this yourself in an afternoon. The key is understanding what’s behind the wall (the rough-in valve and threaded connections), matching your new faucet to that existing plumbing, and sealing every joint correctly so you don’t create a leak inside the wall cavity.
Below I’ll walk you through the whole thing the way I’d explain it to a friend standing in their bathroom: the tools, the exact steps, how to tell what parts you actually need, and the mistakes that turn a 90-minute job into a weekend of frustration.
What exactly is a wall mount tub faucet, and how is it different from a deck-mount?
A wall mount tub faucet is a tub filler where the spout and handles come out of the wall, not out of the rim of the tub or a deck. That’s the core difference: the water supply and valve body live inside the wall, and the visible trim (spout, handles or cross valves) threads onto pipe stubs that stick out through the finished wall surface.
This matters because it changes what you’re replacing. In most homes, you are not replacing the valve body buried in the wall — you’re replacing the trim: the spout, the handles, the escutcheons (the decorative wall plates), and sometimes the threaded nipples. If your rough-in valve is fine and only the visible parts are worn or dated, this is a trim swap, which is very doable. If the valve behind the wall is failing, that’s a bigger job that may require opening the wall.
- Wall mount: spout and handles exit the wall; supply lines and valve are concealed. Common on tiled tub surrounds and older two-handle setups.
- Deck mount: faucet mounts to holes drilled in the tub rim or a surrounding deck (see our guide on the Roman tub faucet with sprayer 4-hole setup for that style).
- Freestanding: a floor-mounted tower — different beast entirely, though some pull supply from the wall (freestanding tub faucet with wall water inlet).
What tools and parts do I actually need before I start?
You need a small, cheap kit: an adjustable wrench, a basin or strap wrench, PTFE plumber’s tape, a rag, a bucket, and possibly a hex/Allen key for set screws. That’s it for most trim swaps. Don’t buy a plumber’s whole arsenal — a wall mount tub faucet replacement is mostly hand-tightening plus a couple of wrench turns.
Here’s the realistic shopping and prep list before you touch anything:
- New wall mount tub faucet kit (spout, handles/valves, escutcheons) — buy the complete trim set, not just the spout, so finishes match.
- PTFE thread-seal tape (white or the thicker pink/yellow) — for tapered pipe threads.
- Adjustable wrench + a second wrench or channel locks to hold the fitting steady.
- Allen/hex key set — most handles and some spouts lock on with a tiny set screw.
- Silicone caulk (100% silicone, mildew-resistant) for sealing escutcheons to the wall.
- A soft rag or painter’s tape to protect the new finish from wrench jaws.
- A flashlight and a bucket/towels for the water that’s still sitting in the lines.
One thing people skip: measure your existing setup first. Note the center-to-center distance between the two handles (very often 8″ on standard wall mount tub fillers), the spout connection size, and whether your handles use standard threaded connections. If those don’t match the new kit, you’ll be making a second trip to the store mid-project.
How do you remove the old wall mount tub faucet without breaking anything?
Start by shutting off the water, then remove the handles first, the spout second, and finally unthread the connections from the wall. The order matters — pulling the spout before the handles or forcing a stuck fitting is how people crack tile or snap a nipple off inside the wall.
Here’s the step-by-step removal:
- Shut off the water. Use the tub’s dedicated shutoffs if you have an access panel behind the wall, or turn off the home’s main. Open the faucet afterward to relieve pressure and drain the lines.
- Remove the handles. Pop off any decorative cap, loosen the set screw with your hex key, and pull the handle straight off. If it’s stuck from mineral buildup, a little penetrating oil and gentle rocking helps.
- Unthread the valve stems or trim sleeves. Depending on the design, you’ll either unscrew the trim collars/escutcheons by hand or use a wrench (wrapped in a rag) on the bonnet nut.
- Remove the spout. Most wall mount spouts thread onto a pipe nipple — turn counterclockwise by hand or with a strap wrench. Some newer spouts lock on with a set screw underneath; loosen it and the spout slides straight off.
- Inspect the wall threads. Look at the exposed nipples/unions. Clean off old tape and gunk with a rag. If a nipple is corroded or cross-threaded, replace it now.
If any fitting refuses to move, stop and think before you crank harder. Heat, penetrating oil, and a longer lever beat brute force. A snapped nipple inside a tile wall is the one scenario that genuinely calls for a pro.
How do you install the new wall mount tub faucet and seal it correctly?
Wrap the male threads with 3–4 wraps of PTFE tape in the direction of tightening, hand-thread the new faucet onto the wall connections, then snug it with a wrench — firm, not gorilla-tight. Over-tightening cracks fittings and strips threads; under-tightening leaks. The sweet spot is “snug plus a quarter turn.”
Follow this sequence:
- Dry-fit first. Hold the new spout and handles up to the wall to confirm spacing and reach before you commit.
- Tape the threads. Wrap PTFE tape clockwise (as you look at the end of the pipe) so it tightens rather than unravels. On tapered NPT threads, tape plus the thread taper does the sealing.
- Install the handles/valve trim. Thread them onto the valve stems, position the escutcheons flush to the wall, and tighten evenly.
- Install the spout. Thread it on until it stops in the correct downward-facing position. If it’s a set-screw spout, slide it on and lock the set screw against the nipple.
- Seal the escutcheons. Run a thin bead of 100% silicone around the top and sides of each wall plate — but leave the very bottom unsealed so any hidden moisture can escape and be spotted.
Not sure whether to use tape, sealant, or nothing on the spout connection specifically? We break that decision down in detail in what to use for tub spout installation — it’s the single most common source of drips after a swap.
How do you know it’s not leaking once the water’s back on?
Turn the water back on slowly, run both hot and cold, and watch every joint for 5–10 minutes — including behind the access panel if you have one. A proper install shows zero drips at the spout base, handle bases, and wall connections. Catch a small weep now and it’s a two-minute fix; miss it and you get hidden wall damage.
Do these checks:
- Restore water gradually so a bad joint seeps instead of blasting.
- Run hot and cold separately, then together, and check flow and temperature.
- Feel around each escutcheon and the spout base with a dry finger or paper towel.
- If you have wall access, shine a light on the back of the valve and nipples.
- Fully close the handles and confirm the spout stops dripping — a persistent drip points to a worn cartridge or debris in the valve seat.
If you do find a small leak at a threaded joint, it usually means not enough tape or an uneven seat. Shut the water, back the fitting off, re-tape, and re-seat. For drips coming from the base of the faucet rather than a threaded union, our walkthrough on how to fix a leak on a faucet yourself covers the cartridge and O-ring fixes step by step.
Wall mount vs. other tub faucet types: which install is right for you?
If your existing plumbing already exits the wall, replacing with another wall mount tub faucet is the easiest path — you reuse the rough-in. Switching styles (say, to a deck-mount or freestanding filler) means new rough-in plumbing and is a much bigger job. Here’s a quick comparison:
| Faucet type | Where it mounts | DIY difficulty (trim swap) | Typical time | Best for |
|---|---|---|---|---|
| Wall mount tub faucet | Threaded stubs out of the wall | Easy–Moderate | 1–2 hours | Tiled tub surrounds, retro two-handle looks |
| Deck mount (Roman) tub faucet | Holes in the tub rim/deck | Moderate | 2–3 hours | Drop-in tubs with a wide rim |
| Freestanding tub filler | Floor (or wall inlet) | Hard (rough-in required) | Half day+ | Standalone soaking tubs |
| Roman tub w/ hand sprayer | Multi-hole deck | Moderate–Hard | 2–4 hours | Larger tubs wanting a handheld |
The takeaway: stick with the mount type your rough-in already supports unless you’re doing a full remodel. If you’re weighing a deck-mount Roman-style project instead, the Pfister Roman tub faucet installation guide shows how different that plumbing path is — and why swapping mount types is a much larger undertaking than a straight wall mount trim replacement.
What are the most common mistakes when replacing a wall mount tub faucet?
The top mistakes are over-tightening fittings, skipping or mis-wrapping the thread tape, sealing the bottom of the escutcheon (trapping water), and buying a trim kit that doesn’t match the handle spacing. Each one is avoidable in about thirty seconds of attention.
- Over-torquing: Brass fittings crack. Snug plus a quarter turn is plenty.
- Wrong tape direction: Tape wrapped backwards unravels as you thread and seals nothing.
- Mismatched spacing: Always measure center-to-center (commonly 8″) before buying.
- Sealing the escutcheon bottom: Leave a weep gap so hidden leaks reveal themselves.
- Reusing corroded nipples: A $3 new nipple beats a hidden leak; replace anything pitted.
- Not testing long enough: Slow leaks take minutes to show — don’t walk away after 30 seconds.
FAQ
Do I need to shut off the whole house water to replace a wall mount tub faucet?
Only if your tub doesn’t have dedicated shutoff valves. Many wall mount setups have an access panel behind the tub wall with hot and cold shutoffs — use those if you can. If there’s no panel or valves, shut off the home’s main, then open the faucet to drain the lines before you disconnect anything.
Can I reuse my old valve body behind the wall?
Yes, in most trim swaps you reuse the in-wall valve and only replace the visible trim (spout, handles, escutcheons). Confirm your new trim kit is compatible with the existing valve brand/model. If the valve itself leaks internally or won’t shut off cleanly, you’ll need to replace it, which usually means opening the wall.
What size are the connections on a wall mount tub faucet?
Most residential wall mount tub fillers connect with 1/2″ NPT or 3/4″ threaded connections, and standard two-handle sets are commonly 8″ center-to-center between handles. Measure yours before buying — bring the old spout or a photo and your measurements to the store so the new kit matches.
Should I use plumber’s tape or pipe dope on the threads?
For a DIY wall mount tub faucet, PTFE plumber’s tape (3–4 wraps in the tightening direction) is the simplest reliable seal on tapered threads. Pipe joint compound (“dope”) also works and some pros combine both, but tape alone is plenty for this job. Don’t put tape on compression or O-ring-sealed connections — those seal by the ring, not the threads.
How long does it take to replace a wall mount tub faucet?
Plan on 1–2 hours for a straightforward trim swap if the existing plumbing is in good shape. Add time if fittings are seized, if you’re replacing corroded nipples, or if you have to hunt down a matching trim kit. First-timers should budget an afternoon and keep the water off only while actively working.
My new faucet still drips after installing — what went wrong?
A drip from the spout when handles are fully closed usually means debris in the valve seat or a worn cartridge, not your installation. A drip from a threaded joint means insufficient or backwards thread tape — shut off, re-tape, and re-seat. If you swapped only the trim onto an old valve, the old cartridge may need replacing too.
Final thoughts and a note on choosing quality trim
Replacing a wall mount tub faucet is genuinely within reach for most homeowners: shut off water, remove trim in order, tape and seal the new connections, and test patiently. The biggest determinant of a leak-free result isn’t skill — it’s matching the parts correctly and not over-tightening. Buy a complete, well-made trim kit, measure twice, and give yourself an unhurried afternoon.
Author note: This guide was written by VIGA’s product and installation team, drawing on years of hands-on faucet fitting and customer support with tub and shower trim. VIGA designs and manufactures faucets and bathroom fixtures with finishes and cartridges tested against industry standards for durability and low-lead compliance, and our tub fillers are backed by a manufacturer’s warranty on finish and function. As with any plumbing work, if you hit a seized in-wall fitting or a failing valve body, bring in a licensed plumber — knowing when to stop is part of doing it right.
WeChat
Scan the QR Code with WeChat