 English
 Deutsch
 Français
 Italiano
 Español
 Português
 Nederlands
 Polski
 Русский
 日本語
日本語 한국어
한국어 العربية
 China Faucet Factory & OEM/ODM Faucet Manufacturer
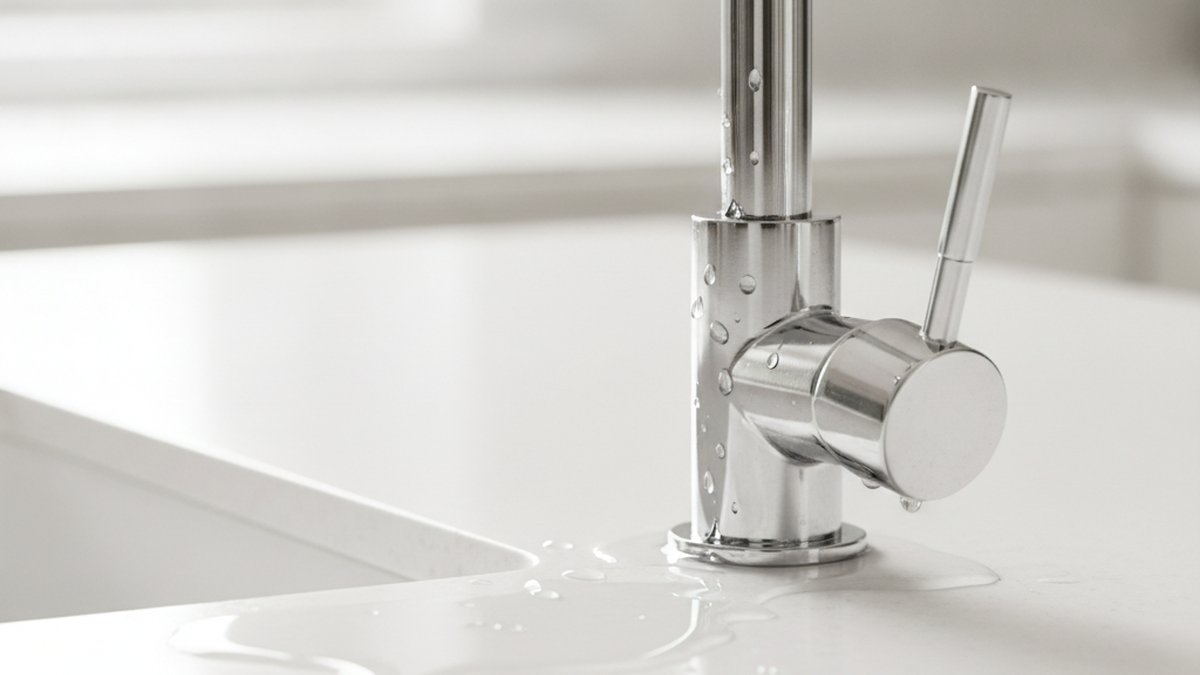
If you’re dealing with a sink leaking from faucet base — that little pool of water that shows up around the bottom of the spout every time you turn the handle — the good news is this is one of the most fixable faucet problems there is. Water seeping up around the base is a sealing problem, not a plumbing emergency. Ninety percent of the time it’s a hardened O-ring, a compressed gasket, or a mounting nut that has vibrated loose over years of use. You don’t need a plumber and you don’t need to replace the whole faucet. Below I’ll walk you through exactly why it happens, how to diagnose which seal failed, and how to fix it step by step.
Why is water leaking from the base of my faucet when I turn it on?
Water leaking from the base of your faucet when it’s running means the internal seal between the moving spout and the fixed body has failed — usually a cracked or flattened O-ring. When you turn the water on, pressure pushes water up inside the faucet body, and instead of being contained by the O-ring, it escapes around the base and runs out onto the sink deck.
Here’s what’s actually happening inside. A modern faucet has a spout that either swivels or sits on top of a valve body. Between those two parts are one or more rubber O-rings that keep pressurized water from escaping upward. Rubber isn’t permanent — it hardens, shrinks, and cracks over 5 to 10 years, especially in homes with hard water where mineral scale grinds away at the rubber every time the spout swivels. Once that O-ring loses its squeeze, water finds the path of least resistance: straight up and out the base.
The key diagnostic clue is when the leak appears:
- Leaks only when the water is running → almost certainly a worn spout O-ring or a cracked spout seal. Pressure is the trigger.
- Leaks constantly, even when off, and water pools under the sink → a loose supply-line connection or a failed base gasket, not the spout O-ring.
- Water pools around the base only after you swivel the spout → the swivel O-ring has hardened and cracked.
- The whole faucet wobbles and leaks → the mounting nut under the sink has loosened, breaking the base gasket seal.
What actually causes a sink to leak from the faucet base?
The four most common causes are worn O-rings, a degraded base gasket, loose mounting hardware, and hard-water mineral buildup — in roughly that order of frequency. Knowing which one you have saves you from buying the wrong parts.
Let me break down each culprit so you can match it to what you’re seeing at your own sink.
| Cause | Telltale sign | Typical fix | Cost & time |
|---|---|---|---|
| Worn / cracked spout O-ring | Leaks around base only when water runs or spout swivels | Replace O-ring, apply plumber’s grease | $3–8, 30 min |
| Degraded base gasket | Water seeps up around the deck plate; faucet feels seated but weeps | Replace rubber/foam gasket under base | $5–12, 45 min |
| Loose mounting nut | Faucet wobbles; leak worsens over weeks | Tighten nut under sink with basin wrench | $0, 15 min |
| Hard-water mineral buildup | White crust around base; rough spout swivel | Clean scale, then replace O-rings | $3–8, 45 min |
| Cracked faucet body | Leak persists after new O-rings & gasket | Replace the whole faucet | $60–250, 1–2 hrs |
Notice that only the last row requires replacing the faucet. If you’ve never worked under a sink before, don’t panic — the swivel O-ring and the base gasket cover the vast majority of “sink leaking from faucet base” complaints, and both are cheap, forgiving repairs.
How do I fix a faucet leaking at the base step by step?
To fix a faucet leaking at the base, shut off the water, remove the spout, replace the worn O-rings and re-grease them, then reseat and tighten everything. Here’s the full sequence for a standard single-handle kitchen or bathroom faucet — the process is nearly identical for most brands.
- Shut off the water. Turn the two shutoff valves under the sink clockwise until they stop. Open the faucet to release pressure and confirm the water is truly off. Drop a towel in the sink basin so you don’t lose small parts down the drain.
- Remove the handle. Pop off the decorative cap (a flathead screwdriver under the edge usually does it), then remove the set screw — often a small hex/Allen screw. Lift the handle off.
- Remove the spout. There’s usually a retaining nut, clip, or collar holding the spout to the body. Unthread or unclip it and pull the spout straight up. You’ll now see the O-rings sitting in grooves on the valve body.
- Inspect and replace the O-rings. Roll the old O-rings off with your fingernail or a plastic pick (never a metal tool — it scratches the sealing surface). If they’re flat, cracked, or brittle, that’s your leak. Take them to the hardware store to match the exact size, or buy a faucet O-ring assortment kit.
- Grease the new O-rings. Coat each new O-ring with a thin layer of silicone-based plumber’s grease (never petroleum jelly — it degrades rubber). This lets the spout swivel smoothly and helps the seal seat properly.
- Reassemble and tighten. Slide the spout back down, reattach the retaining nut hand-tight plus a quarter turn, then reinstall the handle. Don’t overtighten — crushing the O-ring is as bad as a worn one.
- Turn the water back on and test. Open the shutoffs slowly, run the faucet, and swivel the spout while watching the base. Dry means done.
If the leak is coming from the gasket under the deck rather than the spout, you’ll instead work from below: loosen the mounting nut under the sink with a basin wrench, lift the faucet slightly, replace the crushed rubber or foam gasket (or add a bead of 100% silicone sealant if the design calls for it), reseat, and retighten. If you’re unsure whether your setup even seals with a gasket or with sealant, our guide on what to use for a proper fixture seal — sealant, thread tape, or nothing explains when each is correct, and the same logic applies to a sink base.
Do I need to replace the whole faucet, or just the O-rings?
You only need new O-rings or a gasket in the vast majority of base-leak cases — replacing the entire faucet is a last resort reserved for a cracked body or a fixture over 15 years old. Spend $5 on seals before you spend $150 on a new faucet.
That said, there are a few situations where replacement genuinely makes more sense than repair:
- You’ve replaced the O-rings and gasket and it still leaks. This points to a hairline crack in the metal or plastic valve body — that can’t be sealed and the faucet must go.
- Replacement cartridges and O-rings are discontinued. Common with cheap builder-grade or off-brand faucets. If you can’t source parts, repair is a dead end.
- The faucet is 15+ years old and corroded. Once one seal fails on an old faucet, the others usually follow within a year. A new fixture with a lifetime warranty is the smarter buy.
- You’re already unhappy with it. If the finish is worn or the flow is weak, a base leak is a good excuse to upgrade.
If you do decide to swap it out, the job is more approachable than most people expect — we walk through the whole thing in our guide on whether replacing a kitchen faucet is easy enough to do yourself in an afternoon. And if you’re buying new, double-check your deck configuration first; getting the mounting holes right the first time avoids a second leak-prone install, which is exactly why we put together this breakdown of what sink faucet hole size you actually need before you buy.
How do I know if the leak is the O-ring or the mounting nut?
Do a simple wobble-and-run test: grip the spout and gently rock it. If it wiggles, your mounting nut is loose and that’s your leak. If it’s rock-solid but still weeps water around the base when running, the O-ring or gasket is the culprit.
This 60-second test saves you from tearing the whole faucet apart unnecessarily. A loose mounting nut is the single easiest fix — you never even touch the spout. You just reach under the sink with a basin wrench, snug the nut back up, and the base gasket compresses and seals again. Over years of daily use, the vibration of turning the handle slowly backs that nut off, so this is genuinely common and genuinely a two-minute job.
If the faucet is solid, move on to the O-ring. And here’s a pro tip for hard-water homes: while you have the spout off, check the aerator too, because mineral scale that clogs an aerator is the same scale chewing up your O-rings. Cleaning or upgrading it is worth doing in the same session — our rundown of the best bathroom faucet aerator for splash-free, water-saving flow covers what to look for.
How do I stop my faucet base from leaking again?
Prevent future base leaks by using silicone plumber’s grease on every O-ring, installing a whole-house or under-sink filter if you have hard water, and hand-tightening mounting nuts rather than cranking them with maximum force. These three habits address the root causes — friction, mineral abrasion, and over/under-torque.
A few more field-tested prevention tips:
- Re-grease every 2–3 years. If your faucet’s spout starts feeling stiff or gritty when it swivels, that’s your early warning. Re-greasing before the rubber cracks is far easier than a leak repair.
- Test your water hardness. Above ~7 grains per gallon, mineral scale will noticeably shorten O-ring life. Inexpensive test strips tell you where you stand.
- Buy faucets with quality seals. Cheap faucets use thin, low-grade rubber O-rings that fail fast. Faucets built to standards like ASME A112.18.1/NSF 61 use better materials and are engineered for tens of thousands of cycles.
- Don’t overtighten. Crushing an O-ring or a gasket deforms it permanently and guarantees a leak within months. Snug plus a quarter turn is the rule.
What tools and parts do I need for this repair?
For a typical faucet base-leak repair you need an adjustable wrench, a basin wrench, an Allen/hex key set, a plastic pick, silicone plumber’s grease, and replacement O-rings or a gasket that match your model. Total parts cost is usually under $15.
Here’s the shopping and prep list so you only make one trip:
- Replacement O-ring kit or exact-match O-rings (bring the old one to match diameter and thickness)
- Silicone-based plumber’s grease (not petroleum jelly)
- Basin wrench (for the mounting nut under the sink)
- Adjustable wrench and slip-joint pliers
- Allen/hex key set for the handle set screw
- Plastic pick or old toothbrush (for removing O-rings and cleaning scale)
- White vinegar (dissolves mineral buildup around the base)
- Clean rag and a small container for parts
One overlooked step: before reassembly, wipe every sealing surface clean and dissolve any white mineral crust with vinegar. A brand-new O-ring seated against a scale-covered groove will still leak. Clean metal plus fresh, greased rubber is what makes the seal last.
Author note & why you can trust this guide
This guide was written by the vigafaucet technical content team. As a manufacturer and global supplier of faucets, shower systems, and bathroom fixtures, we build, test, and stress-cycle the exact spout O-rings, cartridges, and base gaskets described above — our faucets are tested to international performance and safety standards including ASME A112.18.1/CSA B125.1 and NSF/ANSI 61 for drinking-water safety, and our fixtures carry manufacturer warranties that specifically cover sealing components. We’ve seen thousands of “leaking from the base” cases come through support, and the fixes in this article reflect what actually resolves them in the field — not guesswork. When a repair is beyond a home DIYer, we say so.
FAQ
Why is my sink leaking from the faucet base only when the water is running?
Because the leak is pressure-driven. When water flows, it pressurizes the inside of the faucet body, and a worn or cracked spout O-ring can no longer contain it, so water escapes upward around the base. Replacing the spout O-rings and re-greasing them fixes this in almost every case.
Can I fix a faucet leaking at the base without turning off the water?
No. Always shut off the two supply valves under the sink first and open the faucet to relieve pressure. Working on a pressurized faucet will spray water everywhere the moment you loosen the spout, and you can’t properly seat new O-rings against live pressure.
How much does it cost to fix a sink leaking from the faucet base?
If you DIY it, usually $5–$15 in parts — an O-ring kit and a tube of plumber’s grease. A plumber typically charges $100–$200 for the same job, mostly labor. Replacing the entire faucet runs $60–$250 for the fixture plus install.
Will plumber’s tape (Teflon tape) stop a faucet base leak?
Usually not. Thread tape seals threaded pipe connections, not the O-ring seal between the spout and the faucet body. For a base leak you need to replace the O-ring or gasket and use silicone plumber’s grease. Thread tape only helps if the leak is at a threaded supply-line fitting.
How long does a faucet O-ring last before it leaks again?
A good silicone or EPDM O-ring, properly greased, lasts 5–10 years. Hard water shortens that significantly because mineral scale abrades the rubber every time the spout swivels. Re-greasing every 2–3 years and softening or filtering hard water extends O-ring life considerably.
Is a leak from the faucet base dangerous or urgent?
It’s not an emergency, but don’t ignore it. Water pooling around the base and running under the sink can rot the cabinet, damage the countertop seal, and encourage mold over time. It’s a low-cost, low-urgency fix that becomes an expensive one if left for months.
WeChat
Scan the QR Code with WeChat