 English
 Deutsch
 Français
 Italiano
 Español
 Português
 Nederlands
 Polski
 Русский
 日本語
日本語 한국어
한국어 العربية
 China Faucet Factory & OEM/ODM Faucet Manufacturer
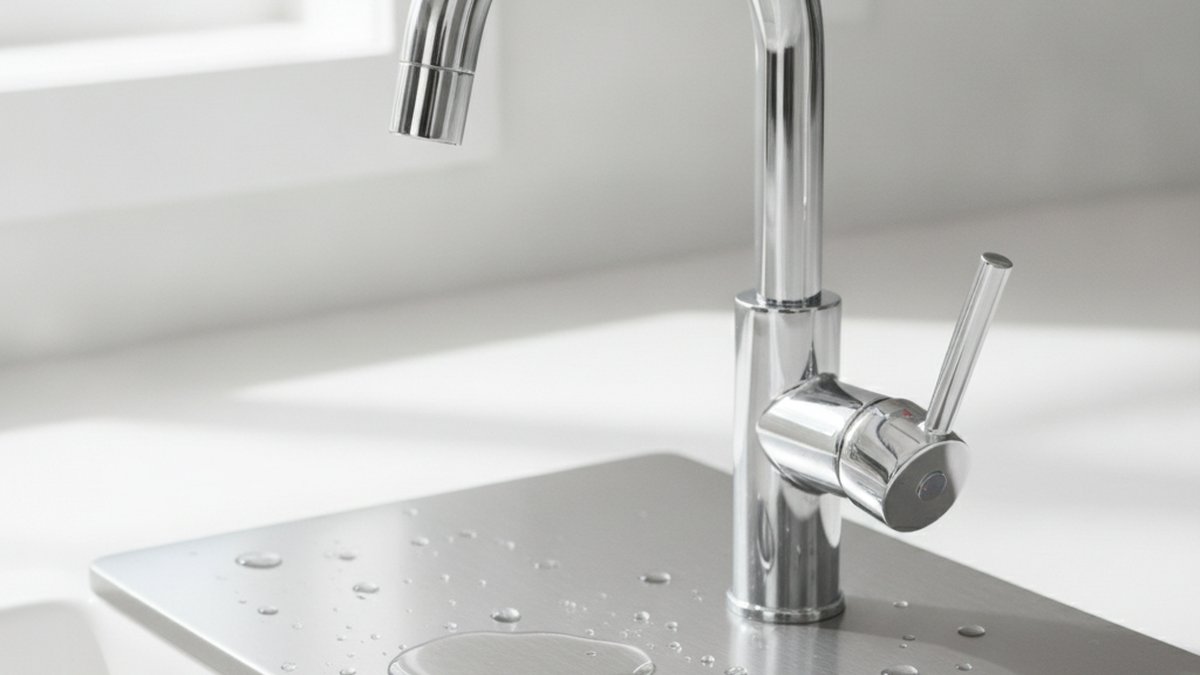
If you have a kitchen faucet leaking from the top, water usually pools around the base of the handle or seeps out where the spout swivels — not from the aerator down at the tip. That distinction matters, because a top leak points to internal seals that have failed: the cartridge, the O-rings, or a loose retaining nut. The good news is that these are exactly the parts designed to be replaced. You almost never need a whole new faucet, and you almost never need a professional. Below, we’ll walk through what’s actually leaking, how to diagnose it in five minutes, and how to fix each cause step by step.
What does it mean when a kitchen faucet leaks from the top and not the spout?
It means the leak is coming from an internal seal near the top of the faucet body — most commonly the cartridge or the O-rings under the handle — rather than from the aerator or the water supply lines underneath. Water escaping at the top has to get past the seals that keep pressurized water inside the faucet body, so a top leak is essentially your faucet telling you a rubber or ceramic seal has worn out.
Here’s the mental model. Inside every modern kitchen faucet, water travels up from the supply lines, through a valve (the cartridge), and out the spout. Between the moving parts — the handle, the cartridge, the swiveling spout — are rubber O-rings and seals that keep water on the “inside” path. When one of those seals hardens, cracks, or gets chewed up by mineral deposits, water finds a shortcut and appears at the top: around the handle base, under the decorative cap, or at the spout collar.
Because the fix depends entirely on which seal failed, the first job is locating the exact leak point before you touch a tool. If you’d rather see the broader logic of tracing any faucet drip to its source, our guide on how to fix a leak on a faucet yourself without calling a plumber lays out the same diagnostic thinking across faucet types.
What are the most common causes of a kitchen faucet leaking from the top?
The four usual suspects are a worn cartridge, degraded O-rings, a loose spanner/retaining nut, and mineral buildup jamming the valve. A worn cartridge and bad O-rings together account for the large majority of top leaks on single-handle kitchen faucets.
Let’s break down each one so you can match your symptom to the cause:
- Worn cartridge: The cartridge is the heart of a single-handle faucet — it controls hot/cold mixing and flow. When its internal seals wear, water leaks around the handle whenever the faucet is on, and sometimes drips from the spout even when off. This is the number-one cause of a leak at the handle base.
- Cracked or flattened O-rings: O-rings sit around the spout base and the cartridge. When they dry out and lose their squish, water weeps from the collar where the spout swivels. Classic sign: a leak that only shows up when you rotate the spout or turn the water on hard.
- Loose retaining/spanner nut: The nut that holds the cartridge or spout assembly down can loosen over years of use and thermal expansion. Sometimes the “leak” is just a nut that needs a quarter-turn snug.
- Mineral and sediment buildup: In hard-water homes, calcium scale builds up inside the valve, holding seals open a hair and abrading the O-rings. This both causes leaks and shortens the life of every replacement part.
One more, less common cause worth ruling out: a hairline crack in the faucet body itself. It’s rare on quality brass-bodied faucets and more common on cheap zinc-alloy imports. If you replace the cartridge and O-rings and water still weeps from the same spot, a cracked body is the likely culprit — and that’s the one scenario where replacing the faucet is the right call.
How do I find exactly where my kitchen faucet is leaking from the top?
Dry everything completely, then run the faucet and watch for the first bead of water — that’s your leak point. Spending five minutes here saves you from replacing the wrong part.
Do this simple test:
- Wipe the entire faucet bone-dry with a towel, including the handle base and spout collar.
- Turn the water on to full and move the handle through hot, cold, and off positions.
- Watch closely. If water appears at the handle base → suspect the cartridge. If it appears at the spout collar when you swivel → suspect the spout O-rings. If it weeps only under high pressure at a seam → suspect a loose nut or, rarely, a crack.
- Feel underneath the sink too, just to confirm the top leak isn’t actually supply-line water wicking up. A genuinely top-origin leak stays dry underneath.
If you discover the water is actually coming up from below the deck rather than from the handle, you’re dealing with a different problem — read our dedicated walkthrough on why a sink leaks from the faucet base and how to fix it yourself, because that’s a mounting-gasket and supply-connection issue, not a cartridge issue.
What tools and parts do I need to fix a top-leaking kitchen faucet?
You need a replacement cartridge or O-ring kit specific to your faucet model, plus a handful of common tools you probably already own. Total parts cost is typically $10–$40.
Here’s the shopping and tool list:
- Replacement cartridge (match your exact brand/model — this is critical) or a universal O-ring kit
- Allen/hex key (most single-handle faucets use a small set screw under the handle)
- Adjustable wrench or channel-lock pliers (wrap the jaws in tape to avoid scratching the finish)
- Flathead screwdriver to pop off the decorative cap
- Plumber’s grease (silicone-based) for the new O-rings and cartridge
- White vinegar for dissolving mineral scale
- A towel and a small container to catch water and keep small parts from falling down the drain
The single most important step is buying the right cartridge. Cartridges are not universal — a Moen 1255 will not fit a Delta or a Kohler, and a VIGA cartridge is machined to VIGA tolerances. Photograph your faucet, find the model number (often stamped under the spout or on the original paperwork), and match it. Guessing here is the most common reason a DIY fix fails.
How do I fix a kitchen faucet leaking from the top, step by step?
Shut off the water, remove the handle and cartridge, replace the worn seals or cartridge, and reassemble — that’s the whole job. Here’s the full sequence for a single-handle kitchen faucet, which covers the vast majority of top leaks.
- Turn off the water. Reach under the sink and close both shut-off valves (hot and cold). Open the faucet to release pressure and confirm the water is fully off. Plug the drain so nothing small escapes.
- Remove the handle. Pry off the decorative cap with a flathead, then loosen the set screw with your Allen key. Lift the handle straight up and off.
- Expose the cartridge. Unscrew the retaining nut (and any dome/collar) with your taped wrench. Note the orientation of every part as you go — snap photos on your phone.
- Pull the cartridge. Grip it with pliers and pull straight up. If it’s stuck with scale, wiggle gently or use a cartridge-puller tool. Soak the housing in vinegar for 10 minutes if buildup is heavy.
- Inspect and replace. If the cartridge is scored, cracked, or the seals are flat, drop in the new one. If the cartridge looks fine, the leak is likely the spout O-rings — lift the spout off and roll the old O-rings off with your fingernail, then fit the new ones.
- Grease the new seals. Apply a thin film of silicone plumber’s grease to every new O-ring and the cartridge body. This makes reassembly smooth and extends seal life.
- Reassemble in reverse. Cartridge in (mind the orientation notch), retaining nut snug (hand-tight plus a quarter-turn — don’t over-torque), spout on, handle on, set screw tight, cap back.
- Test. Slowly reopen the shut-off valves, run the faucet through hot/cold/off, and watch your old leak point. Bone dry means you nailed it.
What if I have a two-handle or pull-down faucet instead?
The logic is identical, only the layout differs. On a two-handle faucet, each handle has its own cartridge or valve stem, so fix the side that leaks. On a pull-down or pull-out sprayer faucet, top leaks are still cartridge/O-ring issues, but also check the quick-connect where the hose meets the faucet body. If you’re shopping for a modern replacement down the line, our look at the Atom pull-down kitchen faucet in the upright style covers what makes a pull-down design easier to service.
How much does it cost to fix vs. replace a leaking kitchen faucet?
A DIY seal or cartridge repair costs $10–$40 in parts; a plumber charges $150–$350 for the same job; a full faucet replacement runs $150–$600+ depending on the faucet. For a top leak, repair almost always wins unless the faucet body is cracked or the unit is very old and cheaply made.
| Option | Typical Cost | Time | Best When |
|---|---|---|---|
| DIY cartridge/O-ring repair | $10–$40 | 30–45 min | Faucet body is sound; you’re comfortable with basic tools |
| Plumber repair | $150–$350 | 1–2 hrs (plus scheduling) | You can’t identify the part or the cartridge is seized |
| Full faucet replacement (DIY) | $80–$400 (faucet + parts) | 1–2 hrs | Cracked body, corroded internals, or you want an upgrade |
| Full replacement (plumber-installed) | $250–$600+ | 1–2 hrs labor | No DIY appetite; complex under-sink setup |
The math is clear: a $20 cartridge is a fraction of a service call. The only time replacement makes sense for a top leak is when the faucet is a low-grade zinc unit that will just fail again, or when the body itself is cracked. A quality brass-bodied faucet with a ceramic-disc cartridge is worth repairing — it’ll outlast several cartridge swaps.
How do I stop my kitchen faucet from leaking again?
Reduce mineral buildup and use quality parts — those two things prevent most repeat leaks. Hard water is the silent killer of faucet seals, so managing scale is the highest-leverage prevention step.
- Address hard water. If you have scale on your fixtures, a whole-home softener or at least regular vinegar descaling of the aerator and valve dramatically extends cartridge life.
- Use silicone plumber’s grease on every seal during any service — dry O-rings crack years sooner.
- Don’t crank the handle. Forcing a single-handle valve to the extreme every time accelerates cartridge wear. Ease it to off.
- Buy quality the first time. A ceramic-disc cartridge in a brass body simply lasts longer than rubber-washer valves in cheap housings.
- Keep the handle finish clean. Grit trapped under a handle can score seals. If you’re also fussy about how the hardware looks, our guide to choosing a polished nickel faucet handle covers finish durability, which ties directly into how well the handle seals over time.
When should you call a plumber instead of fixing it yourself?
Call a pro if the cartridge is seized and won’t budge, if you find a cracked faucet body, if the shut-off valves under the sink don’t work, or if water keeps appearing after you’ve replaced both the cartridge and O-rings. Those signal a problem beyond a simple seal swap.
Everything else — a weeping handle, a dripping spout collar, a leak that shows up when you swivel — is squarely in DIY territory. The parts are cheap, the tools are basic, and the risk is low because you’ve shut the water off. Most people who “can’t fix it” simply bought the wrong cartridge; get the match right and the job is genuinely 30 minutes.
FAQ
Why is my kitchen faucet leaking from the top only when the water is on?
That points to a worn cartridge. When you open the valve, pressurized water reaches a failed internal seal and escapes at the handle base. Replacing the cartridge fixes this in almost every case. If it also drips from the spout when off, that confirms the cartridge is the culprit.
Can I fix a kitchen faucet leaking from the top without turning off the water?
No — never. You must shut off the under-sink supply valves first. The moment you remove the cartridge, pressurized water will spray everywhere and flood the cabinet. Turning off the water and relieving pressure is the non-negotiable first step of every faucet repair.
How do I know if it’s the cartridge or the O-rings?
Dry the faucet and watch where water first appears. A leak at the base of the handle usually means the cartridge; a leak at the spout collar that shows up when you swivel the spout usually means the O-rings. When in doubt, replace both while you have it apart — the O-rings cost almost nothing.
Are kitchen faucet cartridges universal?
No. Cartridges are brand- and often model-specific. A cartridge for one manufacturer won’t seat correctly in another, and forcing the wrong one causes leaks or damage. Find your faucet’s model number and buy the exact matching cartridge, or contact the manufacturer with a photo.
How long should a kitchen faucet last before it starts leaking from the top?
A quality faucet’s cartridge typically lasts 5–10 years before seals wear, and the faucet body itself can last 15–20+ years. Hard water shortens cartridge life significantly. Because the cartridge is a wear part designed to be swapped, a top leak after several years is normal maintenance, not a sign the faucet is done.
Will fixing the top leak void my faucet’s warranty?
Replacing a cartridge or O-rings with manufacturer-approved parts generally does not void a warranty — these are user-serviceable wear items, and many brands ship replacement cartridges free under lifetime warranties. Check your specific warranty terms, and keep your receipt and model number handy when you request parts.
Author note: This guide was written by the VIGA product team, drawing on years of hands-on faucet design, cartridge testing, and customer repair support. We’ve disassembled and rebuilt thousands of kitchen faucets, and every step above reflects the actual failure patterns we see most often in real kitchens.
About VIGA: VIGA designs and manufactures kitchen and bathroom faucets built around brass bodies and ceramic-disc cartridges tested to industry cycle-life standards (our valves are rated for 500,000+ open/close cycles) and backed by our warranty on internal components. We build fixtures meant to be serviced, not thrown away — which is why replacement cartridges and O-rings are readily available for our models at www.vigafaucet.com.
WeChat
Scan the QR Code with WeChat