 English
 Deutsch
 Français
 Italiano
 Español
 Português
 Nederlands
 Polski
 Русский
 日本語
日本語 한국어
한국어 العربية
 China Faucet Factory & OEM/ODM Faucet Manufacturer
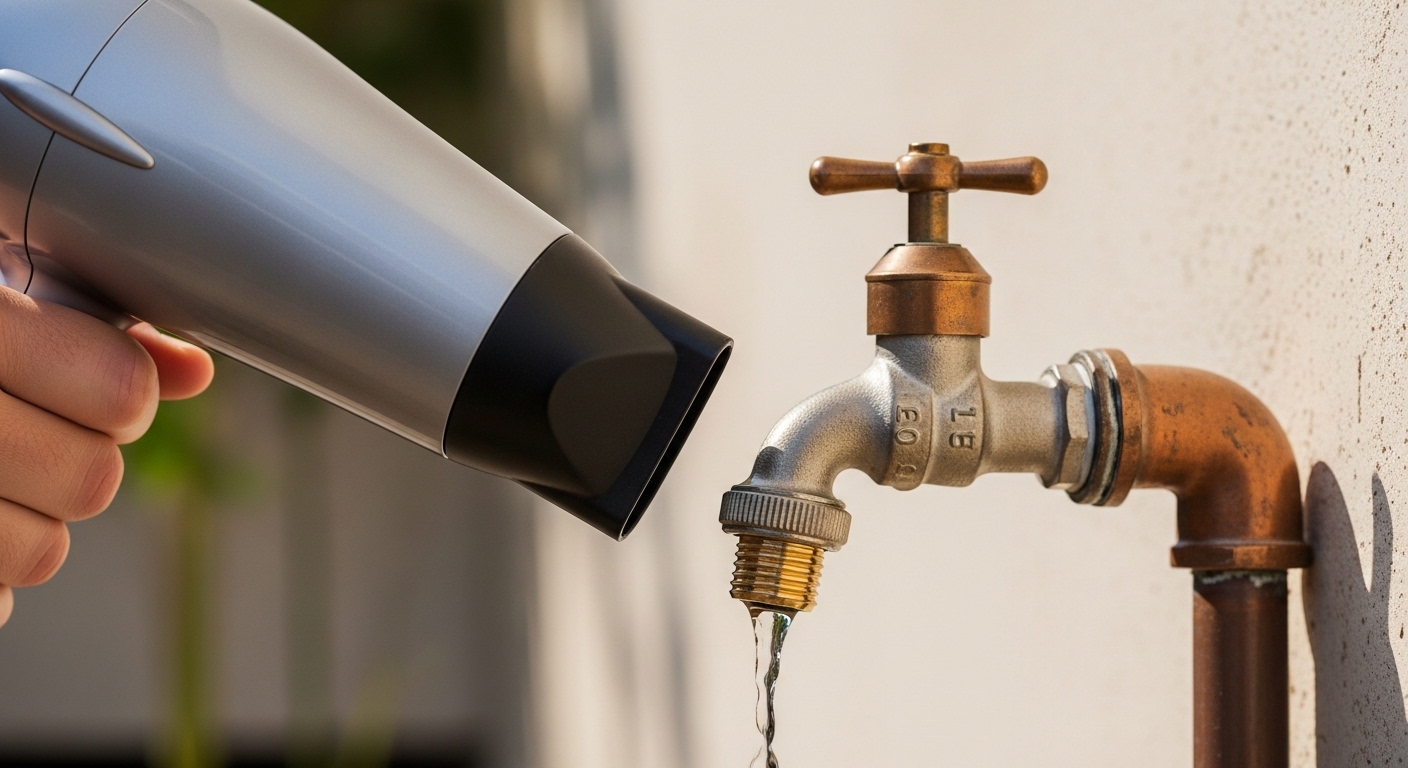
Knowing how to repair a frozen outdoor faucet is really two jobs in one: thawing it safely so water flows again, and then figuring out whether the freeze already damaged the valve or pipe behind it. A faucet that froze overnight and simply won’t run is usually fixable in an hour. A faucet that froze, cracked internally, and is now dripping inside your wall is a different — and more urgent — situation. This guide walks you through both, in the order a real plumber would tackle them.
Below you’ll find the exact steps, the tools that actually matter, how to tell a “just frozen” faucet from a “burst” one, and when it’s smarter to replace the whole spigot instead of nursing it through another winter. Everything here applies to standard hose bibs, frost-free sillcocks, and the yard hydrants most homes have.
How do you thaw a frozen outdoor faucet safely, step by step?
Shut the water off first, open the faucet, then apply gentle, steady heat to the pipe starting at the faucet and moving toward the house. That order matters: if the pipe cracked while frozen, you want the supply already off before the ice melts and water finds the crack.
Here’s the full sequence I’d follow on any freeze-up:
- Find and close the shutoff valve. Most outdoor faucets have a dedicated indoor shutoff — a small gate or ball valve on the pipe just inside the wall, often in a basement, crawlspace, or utility closet. Close it. If you can’t find one, close the main water shutoff for the house.
- Open the outdoor faucet fully. This relieves pressure and gives melting water somewhere to escape. As the ice thaws, you’ll see a trickle, then a steadier flow — that’s your signal it’s working.
- Apply gentle heat to the pipe. Use a hair dryer, a heat gun on low, heat tape, or towels soaked in hot water wrapped around the pipe. Start at the faucet end and work backward toward the house, so melting ice can drain out the open spout instead of building pressure behind a frozen plug.
- Keep heating until full flow returns. Don’t rush it. A pipe can take 20–45 minutes to fully clear depending on how deep the freeze went.
- Watch for leaks as pressure returns. Turn the indoor shutoff back on slowly and inspect the faucet, the pipe, and the wall behind it. A hidden crack shows up the instant real pressure hits.
One hard rule: never use an open flame — no propane torch, no lighter. Superheating one spot can flash trapped water to steam and rupture the pipe, and it’s a genuine fire risk near wood framing and insulation. Slow, even heat is the whole game.
Is my outdoor faucet frozen or already burst? How can I tell?
If the faucet won’t produce water on a cold day but you see no dripping and no wet spots, it’s most likely just frozen. If you thaw it and then hear running water inside the wall, see water dripping from the ceiling or wall below, or the faucet won’t hold pressure — the pipe or valve cracked while frozen, and you have a burst, not just a freeze.
The tricky part is that a burst pipe often stays quiet while it’s still frozen. The ice itself plugs the crack. Everything looks fine until the thaw, and then water pours out through the split at full pressure. That’s exactly why step one is shutting off the supply — you never want to discover a burst by flooding your drywall.
Quick diagnostic signs to check as you thaw:
- Bulged or split pipe — a visible bulge, a hairline crack, or a section that looks swollen means the freeze already did structural damage.
- Water where it shouldn’t be — dampness on interior walls, ceiling stains below the faucet, or a wet basement joist near the pipe run.
- Faucet handle spins with no resistance — sometimes a freeze wrecks the valve stem or washer, not the pipe. If your handle just turns freely and nothing changes, that’s a valve problem; our guide on why an outdoor faucet handle just spins freely walks through that specific fix.
- Weak flow after thawing — if water returns but the stream is weak or sputters, there may be a partial split or debris knocked loose by the ice.
Which type of outdoor faucet do you have, and does it change the repair?
Yes — the faucet type changes both why it froze and how you fix it. The three common types are standard hose bibs, frost-free sillcocks, and yard hydrants, and each fails in a different way.
| Faucet type | How it works | Why it froze | Typical repair |
|---|---|---|---|
| Standard hose bib | Valve seat sits right at the wall, water stays in the exposed pipe | No freeze protection at all; water sits in the cold section | Thaw, then replace with a frost-free model or add insulation |
| Frost-free sillcock | Valve seat is 6–12 inches inside the heated wall; the long stem drains the barrel | Hose left attached over winter, or the internal washer failed so it couldn’t drain | Remove hose, thaw, replace the stem/washer or the whole unit |
| Yard hydrant | Valve buried below the frost line, drains underground when closed | Drain hole clogged, or valve worn so barrel didn’t empty | Thaw above ground, then service the underground valve/plunger |
The single most common freeze cause on modern homes is a frost-free sillcock with a hose left attached. These faucets are designed to drain the water out of the exposed barrel every time you shut them off — but only if nothing blocks the spout. A connected hose (especially one full of water) traps water inside the barrel, right in the freeze zone, and the “frost-free” protection is defeated. Pull your hoses before winter and most freeze-ups never happen.
How do you repair or replace a frost-free faucet after it froze?
Once thawed, if a frost-free sillcock leaks or won’t shut off cleanly, the usual repair is replacing the internal stem and washer — a 20-minute job — or swapping the whole faucet if the barrel itself cracked. You’ll know it cracked if water leaks from the wall behind the faucet only when it’s turned on.
To rebuild the stem on a frost-free faucet:
- Confirm the water is off and the faucet is open and drained.
- Unscrew the packing nut behind the handle (usually one wrench turn counterclockwise).
- Pull the entire stem straight out — on a frost-free model the stem can be a foot or more long, so give it room.
- Replace the rubber washer at the tip and the packing washer near the handle. Bring the old parts to the store to match sizes exactly.
- Reinsert the stem, tighten the packing nut snug (not gorilla-tight), and restore water slowly while watching for leaks.
If the faucet barrel or the pipe behind it split, replacing the parts won’t help — you need a new faucet, and possibly a short pipe repair. That’s often the moment to upgrade to a proper frost-free sillcock with a built-in vacuum breaker. When you’re picking a replacement, the same fundamentals that matter for indoor fixtures apply: solid brass bodies over pot metal, quarter-turn ceramic or reliable compression valving, and finishes that survive weather. Our overview of the bathroom faucet brands Reddit actually recommends is a useful sanity check on which manufacturers build valves that last, since the same brands often make dependable outdoor spigots too.
What tools and parts do you actually need for this repair?
For a basic thaw you need almost nothing — a hair dryer and a bucket. For an actual repair, keep it simple: an adjustable wrench, replacement washers or a full sillcock, plumber’s tape, and pipe insulation. Here’s the realistic list.
- Hair dryer or heat gun — for thawing. Heat tape is better if you want a set-and-forget option.
- Adjustable wrench and channel-lock pliers — to loosen the packing nut and any threaded connections.
- Replacement stem, washers, or a whole frost-free sillcock — depending on the damage. A quality replacement runs roughly $15–$45.
- PTFE (plumber’s) tape and pipe joint compound — for resealing threaded joints so they don’t weep.
- Foam pipe insulation or an insulated faucet cover — to prevent the next freeze, usually under $10.
- Towels and a bucket — because there’s always some water left in the line.
If your repair turns into a full replacement and you’re comfortable sweating copper or working with PEX, you can handle the pipe section yourself. If the split is deep inside the wall, that’s a call-a-plumber moment — chasing a leak through drywall is where DIY repairs go sideways.
How do you stop an outdoor faucet from freezing again next winter?
Disconnect and drain every hose before the first hard freeze, shut off the indoor valve that feeds the outdoor faucet, then open the outdoor faucet to drain the line. That three-step routine prevents the vast majority of freeze-ups, and it costs nothing.
Layer on a few cheap upgrades and you’ll basically never deal with a frozen spigot again:
- Install an insulated faucet cover — the foam or hard-shell domes that slip over the whole faucet. Five bucks, thirty seconds, real protection.
- Wrap exposed pipe with foam insulation or heat tape — especially the run between the wall and any unheated basement or crawlspace.
- Upgrade to a frost-free sillcock — if you still have an old standard hose bib, this is the permanent fix. The valve moves inside the heated envelope of the house.
- Add or clear the shutoff valve — if your outdoor faucet has no dedicated indoor shutoff, having a plumber add one makes winterizing a 10-second job forever after.
Think of it this way: the repair you just did is the expensive lesson. The prevention is the cheap insurance. A $6 cover and a five-minute fall routine beat a burst pipe and water-damaged drywall every single time.
When is it time to replace the faucet instead of repairing it?
Replace the faucet if the barrel or pipe cracked, if it’s an old non-frost-free hose bib that freezes every year, or if the valve seat is so corroded that new washers still won’t stop the drip. Repair makes sense for a simple worn washer or packing leak; replacement makes sense once the freeze caused structural damage.
A frozen faucet that burst has, by definition, structural damage — no amount of washer-swapping fixes a split casting. And honestly, if you’re already pulling the faucet off the wall, upgrading to a modern frost-free model with an integrated vacuum breaker is only a few dollars more than a like-for-like swap, and it’s the difference between doing this again next January or never thinking about it. Good outdoor faucets are built from the same durable brass and ceramic-disc valve technology as quality indoor fixtures, and the better ones carry multi-year or even lifetime warranties on the valve body.
FAQ
Will a frozen outdoor faucet thaw on its own if I just wait?
Yes, it will thaw once temperatures rise above freezing, but waiting is risky. If the pipe cracked while frozen, an uncontrolled thaw floods water through the split before you notice. It’s far safer to shut off the supply and thaw it deliberately so you catch any damage before full pressure returns.
Can I pour hot water on a frozen outdoor faucet to thaw it?
You can pour hot (not boiling) water over towels wrapped around the pipe, and it works well for surface freezes. Don’t pour boiling water directly on cold metal or ceramic — the thermal shock can crack the faucet body. Steady, moderate heat from a hair dryer is more controllable and safer overall.
How long does it take to thaw a frozen outdoor faucet?
With a hair dryer or heat gun, most outdoor faucets thaw in 20 to 45 minutes, depending on how deep and how long the freeze lasted. Deeper freezes in an unheated crawlspace can take longer. You’ll know it’s done when full, steady water flow returns from the open spout.
Why did my frost-free faucet freeze if it’s supposed to be freeze-proof?
Almost always because a hose was left attached. A frost-free sillcock only drains its barrel when the spout is clear; a connected hose traps water inside the freeze zone and defeats the design. A failed or stuck internal washer that stops the barrel from draining is the other common cause.
Do I need to shut off my whole house water to fix a frozen outdoor faucet?
Not if there’s a dedicated shutoff valve for that outdoor faucet — usually a small valve on the pipe just inside the wall. Close that one and the rest of the house keeps running. Only shut off the main supply if you can’t locate a dedicated valve for the spigot.
Author note: This guide was written by the vigafaucet product and technical team, drawing on hands-on installation and cold-climate winterization experience across hose bibs, frost-free sillcocks, and yard hydrants. At vigafaucet we manufacture and pressure-test faucet valve bodies to industry standards before they ship, and back our fixtures with a manufacturer warranty on the valve mechanism — the same engineering standards we apply to our kitchen and bath lines apply to durable outdoor fixtures. For related repairs, see our walkthroughs on removing a faucet the right way without wrecking your sink and cleaning and preventing hard water stains on a faucet, since the same mineral buildup that stains chrome can also foul the drain hole on a frost-free spigot.
WeChat
Scan the QR Code with WeChat