 VIGA Faucet Manufacturer
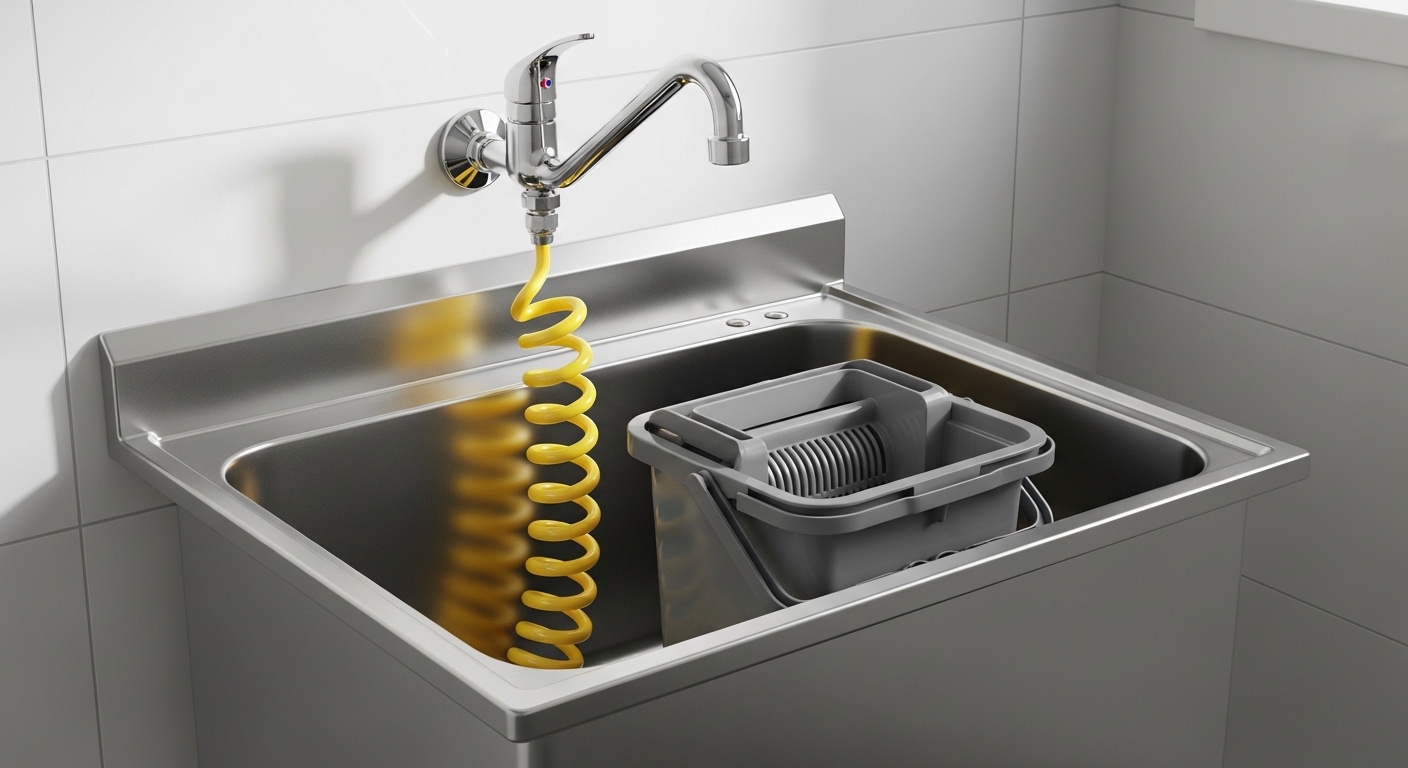
A clean, code-compliant commercial mop sink faucet installation comes down to three things most people get wrong: mounting height, backflow protection, and using a faucet actually built for a service sink instead of a repurposed kitchen unit. Get those right and the whole job takes under an hour with basic tools. In this guide we’ll walk through exactly how to do it — the rough-in numbers, the parts that matter, the step-by-step, and the mistakes that cause failed inspections and dripping walls six months later.
Mop sinks (also called service sinks, floor sinks, or curbed mop basins) live in janitor closets, restaurant back-of-house, schools, and warehouses. The faucet takes abuse: buckets banging into it, hoses yanked sideways, hot water for cleaning solutions. So this is not the place for a delicate finish or a plastic cartridge. Let’s get into it.
What exactly is a commercial mop sink faucet, and how is it different from a regular faucet?
A commercial mop sink faucet is a wall-mounted, exposed-body faucet with a downward-angled spout, a hose-thread (GHT) outlet, an integral atmospheric vacuum breaker, and usually a pail hook and wall brace. It differs from a kitchen or bathroom faucet in three big ways: it mounts to the wall (not the sink deck), it has built-in backflow protection because you’ll attach a hose, and it’s built from heavy cast brass to survive constant contact with buckets and chemicals.
Here’s why that matters. A residential faucet assumes clean water only flows out. A service faucet assumes you’ll screw a hose onto it and dunk that hose into a bucket of dirty mop water or diluted cleaner. If the building loses pressure, that contaminated water could siphon back into the potable supply — which is exactly what the vacuum breaker prevents. That single component is why you cannot legally swap in a garden-hose bibb or a laundry faucet on many commercial jobs. If you’re weighing a service faucet for a utility setup, our guide to the best laundry room utility faucet for a utility sink covers a lot of the same durability logic.
What features should the faucet actually have?
- Integral vacuum breaker — atmospheric anti-siphon, non-removable, required by code when a hose can be attached.
- Cast brass body — not zinc, not plastic; it takes the bucket hits.
- Integral screwdriver stops — lets you shut off water at the faucet for repairs without killing the whole closet.
- Hose-thread outlet (3/4″ GHT) — so you can thread on a fill hose.
- Pail hook — a little arm to hang a bucket on while it fills.
- Wall brace / support bracket — ties the spout back to the wall so leverage doesn’t crack the body.
- Lever or cross handles — easy to work with wet, gloved hands.
What’s the correct mounting height for a commercial mop sink faucet installation?
Mount the faucet so the spout sits about 30 to 36 inches above the finished floor, which usually puts the faucet body 6 to 12 inches above the rim of the mop basin. The most common spec is 32 inches to the centerline of the faucet inlets, with supply stub-outs roughed in at 8-inch centers to match standard commercial faucet spacing.
The reason for that height is clearance. You need enough room under the spout to slide a full 5-gallon bucket in and out without tipping it. Too low and the bucket won’t fit; too high and you’re splashing and reaching. If you’re roughing in new plumbing, set the hot and cold supply stub-outs level with each other and plumb — a common commercial standard is 1/2-inch supplies on 8-inch horizontal centers. This is the same “measure twice before you open the wall” discipline we cover for showers in our piece on the right shower valve rough-in height.
Wall-mount vs. deck-mount — which do you need?
Almost always wall-mount. Commercial mop sinks — especially the molded terrazzo or fiberglass floor basins — have no deck to mount a faucet on, so the faucet goes on the wall above. Deck-mount service faucets exist for a few stainless service sinks with a back ledge, but for a standard curbed mop basin, wall-mount is the answer. If your closet only ever needs cold water for filling buckets, you can even simplify to a single-temperature setup — we break down when that makes sense in what a wall-mount faucet cold only is, and when to buy one.
What tools and parts do you need before you start?
You need an adjustable wrench, channel-lock pliers, a basin/pipe wrench, Teflon (PTFE) thread-seal tape, a level, a drill for the wall brace anchors, and two flexible or braided stainless supply connectors rated for hot water. Have thread tape, a bucket, and a towel ready — there’s always a little drip.
| Part / Tool | Why you need it | Spec to look for |
|---|---|---|
| Wall-mount service faucet | The faucet itself | Cast brass, integral vacuum breaker, 8″ centers |
| Supply connectors (x2) | Link stops to faucet inlets | Braided stainless, 1/2″ FIP, hot-rated |
| PTFE thread tape | Seal threaded joints | 3–5 wraps clockwise per joint |
| Wall brace / bracket | Stops spout flexing | Comes with faucet; use anchors for masonry |
| Adjustable & basin wrench | Tighten inlets in tight space | Fits 1/2″–3/4″ nuts |
| Vacuum breaker (if not integral) | Backflow protection | ASSE 1001 atmospheric type |
One tip on connectors: on a mop sink, the faucet inlets are exposed and get bumped, so braided stainless supply lines outlast rigid chrome tubes here. And always confirm your faucet’s outlet is 3/4″ GHT if the facility already owns hose adapters — otherwise you’ll be hunting for a fitting on install day, the same headache we describe in our guide to the commercial kitchen faucet adapter.
How do you actually install it, step by step?
Shut off the water, mount the faucet to the roughed-in supply stub-outs, seal every threaded joint with PTFE tape, secure the wall brace, then turn the water back on and check for leaks. Here’s the full sequence.
- Shut off water at the closet stops or the building main. Open a downstream faucet to relieve pressure.
- Dry-fit the faucet to the stub-outs to confirm the 8-inch centers line up and the spout height gives bucket clearance. Adjust before you seal anything.
- Wrap threads — 3 to 5 clockwise wraps of PTFE tape on each male threaded inlet.
- Thread the faucet inlets onto the supply stub-outs (or connect braided lines from the stops). Start every joint by hand to avoid cross-threading, then snug with a wrench — firm, not gorilla-tight.
- Level the faucet so the handles sit square and the spout points straight down into the basin.
- Fasten the wall brace to the wall with the correct anchors (masonry anchors for block/tile, toggle or lag for other walls). This is the step people skip — don’t. The brace is what keeps a yanked hose from cracking the body.
- Attach the hose outlet, pail hook, and any hose, confirming the vacuum breaker cap is in place.
- Turn water on slowly. Watch every joint. A weeping joint means back off, add a wrap of tape, and re-tighten.
- Run hot and cold for a full minute each, check the vacuum breaker doesn’t spit, and check under the sink and behind the faucet for drips.
If you’re replacing an old unit rather than installing new, remove the old faucet first — and if it fights you, the same careful de-installation logic in our bathroom faucet removal guide (relieve pressure, break the joint, don’t torque the pipe) applies to service faucets too.
What are the code and backflow rules you can’t skip?
The non-negotiable rule is backflow prevention: because a hose can be attached to a mop sink faucet, code (IPC/UPC and local amendments) requires an approved atmospheric vacuum breaker — typically ASSE 1001 — that cannot be removed or defeated. Most commercial service faucets have this built into the body, which is the simplest way to pass inspection.
A few other rules commonly enforced:
- No removable hose-thread outlet without a vacuum breaker. A bare hose bibb on a mop sink is a classic failed inspection.
- Hot water within a set temperature range for the facility (check local code; some limit service-sink hot water delivery).
- Accessible shutoffs — integral stops or nearby stops so the faucet can be isolated for repair.
- Proper air gap / spout clearance above the flood rim of the basin.
Whenever you’re unsure, the vacuum breaker requirement is the one to get right — inspectors look for it first, and it’s the one that protects the building’s drinking water. Buy a faucet that lists the relevant certifications (look for NSF/ANSI and ASSE markings) so you’re not retrofitting a breaker later.
Which faucet type should you choose for your situation?
For a standard janitor closet with a curbed floor basin, choose a two-handle wall-mount service faucet with an integral vacuum breaker and wall brace — it’s the workhorse. Go single-temperature cold-only if you only fill buckets and never mix cleaning solutions with hot water. Here’s how the common options stack up:
| Faucet type | Best for | Watch-out |
|---|---|---|
| Two-handle wall-mount w/ vacuum breaker | Standard mop/janitor closets | Confirm 8″ centers match rough-in |
| Single-temp cold-only wall-mount | Bucket-fill-only stations | No warm water for tough cleaning |
| Deck-mount service faucet | Stainless service sinks with a ledge | Rare on floor basins |
| Faucet with integral stops | High-use facilities needing easy repair | Slightly higher cost upfront |
Whichever you pick, prioritize a cast-brass body and an integral vacuum breaker over a fancy finish. In a janitor closet, chrome or rough chrome is standard because it hides scuffs and resists chemicals — nobody’s judging the finish, they’re judging whether it still works in five years.
What mistakes cause leaks or failed inspections later?
The top three failures are: no backflow preventer, no wall brace, and over-tightening. Skip the vacuum breaker and you fail inspection outright. Skip the wall brace and the first hard hose-pull cracks the body or loosens the inlets. Over-tighten the connectors and you crush the washers or split a fitting, guaranteeing a slow weep. Hand-start every joint, snug firmly, and stop.
Two more worth naming: mounting the faucet too low so a full bucket won’t fit, and using thread tape on connections that seal with a rubber washer (tape belongs on tapered pipe threads, not on washer-sealed connector nuts). When in doubt, tape the male pipe threads, leave the washer joints alone.
FAQ
How high should a commercial mop sink faucet be mounted?
Mount the spout roughly 30–36 inches above the finished floor, with the faucet body 6–12 inches above the basin rim — enough clearance to slide a full 5-gallon bucket underneath. A 32-inch inlet centerline with 8-inch supply centers is the most common commercial rough-in.
Do I need a vacuum breaker on a mop sink faucet?
Yes. Because you can attach a hose, code requires an approved atmospheric vacuum breaker (typically ASSE 1001) to prevent contaminated water from siphoning back into the potable supply. Most commercial service faucets include one built into the body, which is the easiest path to passing inspection.
Can I use a regular garden hose bibb or laundry faucet instead?
Not for a code-compliant commercial install. A plain hose bibb usually lacks the required non-removable vacuum breaker and the durable cast-brass, wall-braced construction a service sink needs. Use a purpose-built commercial mop sink faucet.
How long does a commercial mop sink faucet installation take?
Plan on 45–90 minutes if the supply stub-outs are already roughed in at the correct height and centers. New rough-in plumbing adds time. Most of the work is dry-fitting, sealing threads, and securing the wall brace — the actual connections are quick.
What size supply lines and outlet does a mop sink faucet use?
Standard commercial service faucets use 1/2-inch hot and cold supplies on 8-inch centers, with a 3/4-inch hose-thread (GHT) outlet for the fill hose. Confirm your faucet’s outlet thread matches any hose adapters the facility already owns before install day.
Is a wall brace really necessary?
Yes — it’s one of the most-skipped and most-important parts. The brace ties the spout back to the wall so the leverage from yanking a hose or bumping a bucket doesn’t crack the faucet body or loosen the inlet connections. Always anchor it into the wall with the correct fasteners for your wall type.
About the author: This guide was written by the Viga product team, drawing on hands-on installs of wall-mount service and utility faucets across commercial janitor closets, restaurants, and multi-unit buildings. We test faucets for flow consistency, joint sealing under pressure cycling, and body durability before recommending an install approach.
About Viga: vigafaucet designs and manufactures faucets and bathroom fixtures for both residential and commercial buyers. Our commercial service faucets are built from cast brass with integral vacuum breakers, tested to relevant NSF/ANSI and ASSE standards, and backed by our manufacturer warranty on the body and cartridge — so a mop sink faucet you install today keeps working through years of bucket-and-hose abuse.
WeChat
Scan the QR Code with WeChat